.svg)
.svg)
 For Instructor
Have you ever captured what you thought was the absolute perfect video clip, only to realize later that a random stranger walked right through the background of your shot? We’ve all been there. You’ve got the perfect lighting, the framing is flawless, and the subject is giving an Oscar-worthy performance—but there, in the distance, is a person wearing a bright neon shirt, completely distracting your viewer.
Creating high-quality digital content requires an eye for detail, and there is nothing more frustrating than reviewing your footage after a long day of shooting, only to spot a glaring continuity error or an unwanted photobomber. Whether you are producing a short film, a corporate documentary, or a quick vlog for your digital channels, maintaining a clean visual aesthetic is absolutely crucial for keeping your audience engaged. Distractions pull the viewer out of the story you are trying to tell.
In the old days of video editing, fixing this was an absolute nightmare. You’d have to spend hours, sometimes even days, rotoscoping the footage frame by frame, meticulously masking out the unwanted person, and trying to artificially rebuild the background behind them. It was a tedious, soul-crushing process that usually required advanced visual effects software, complex tracking data, and an incredible amount of patience.
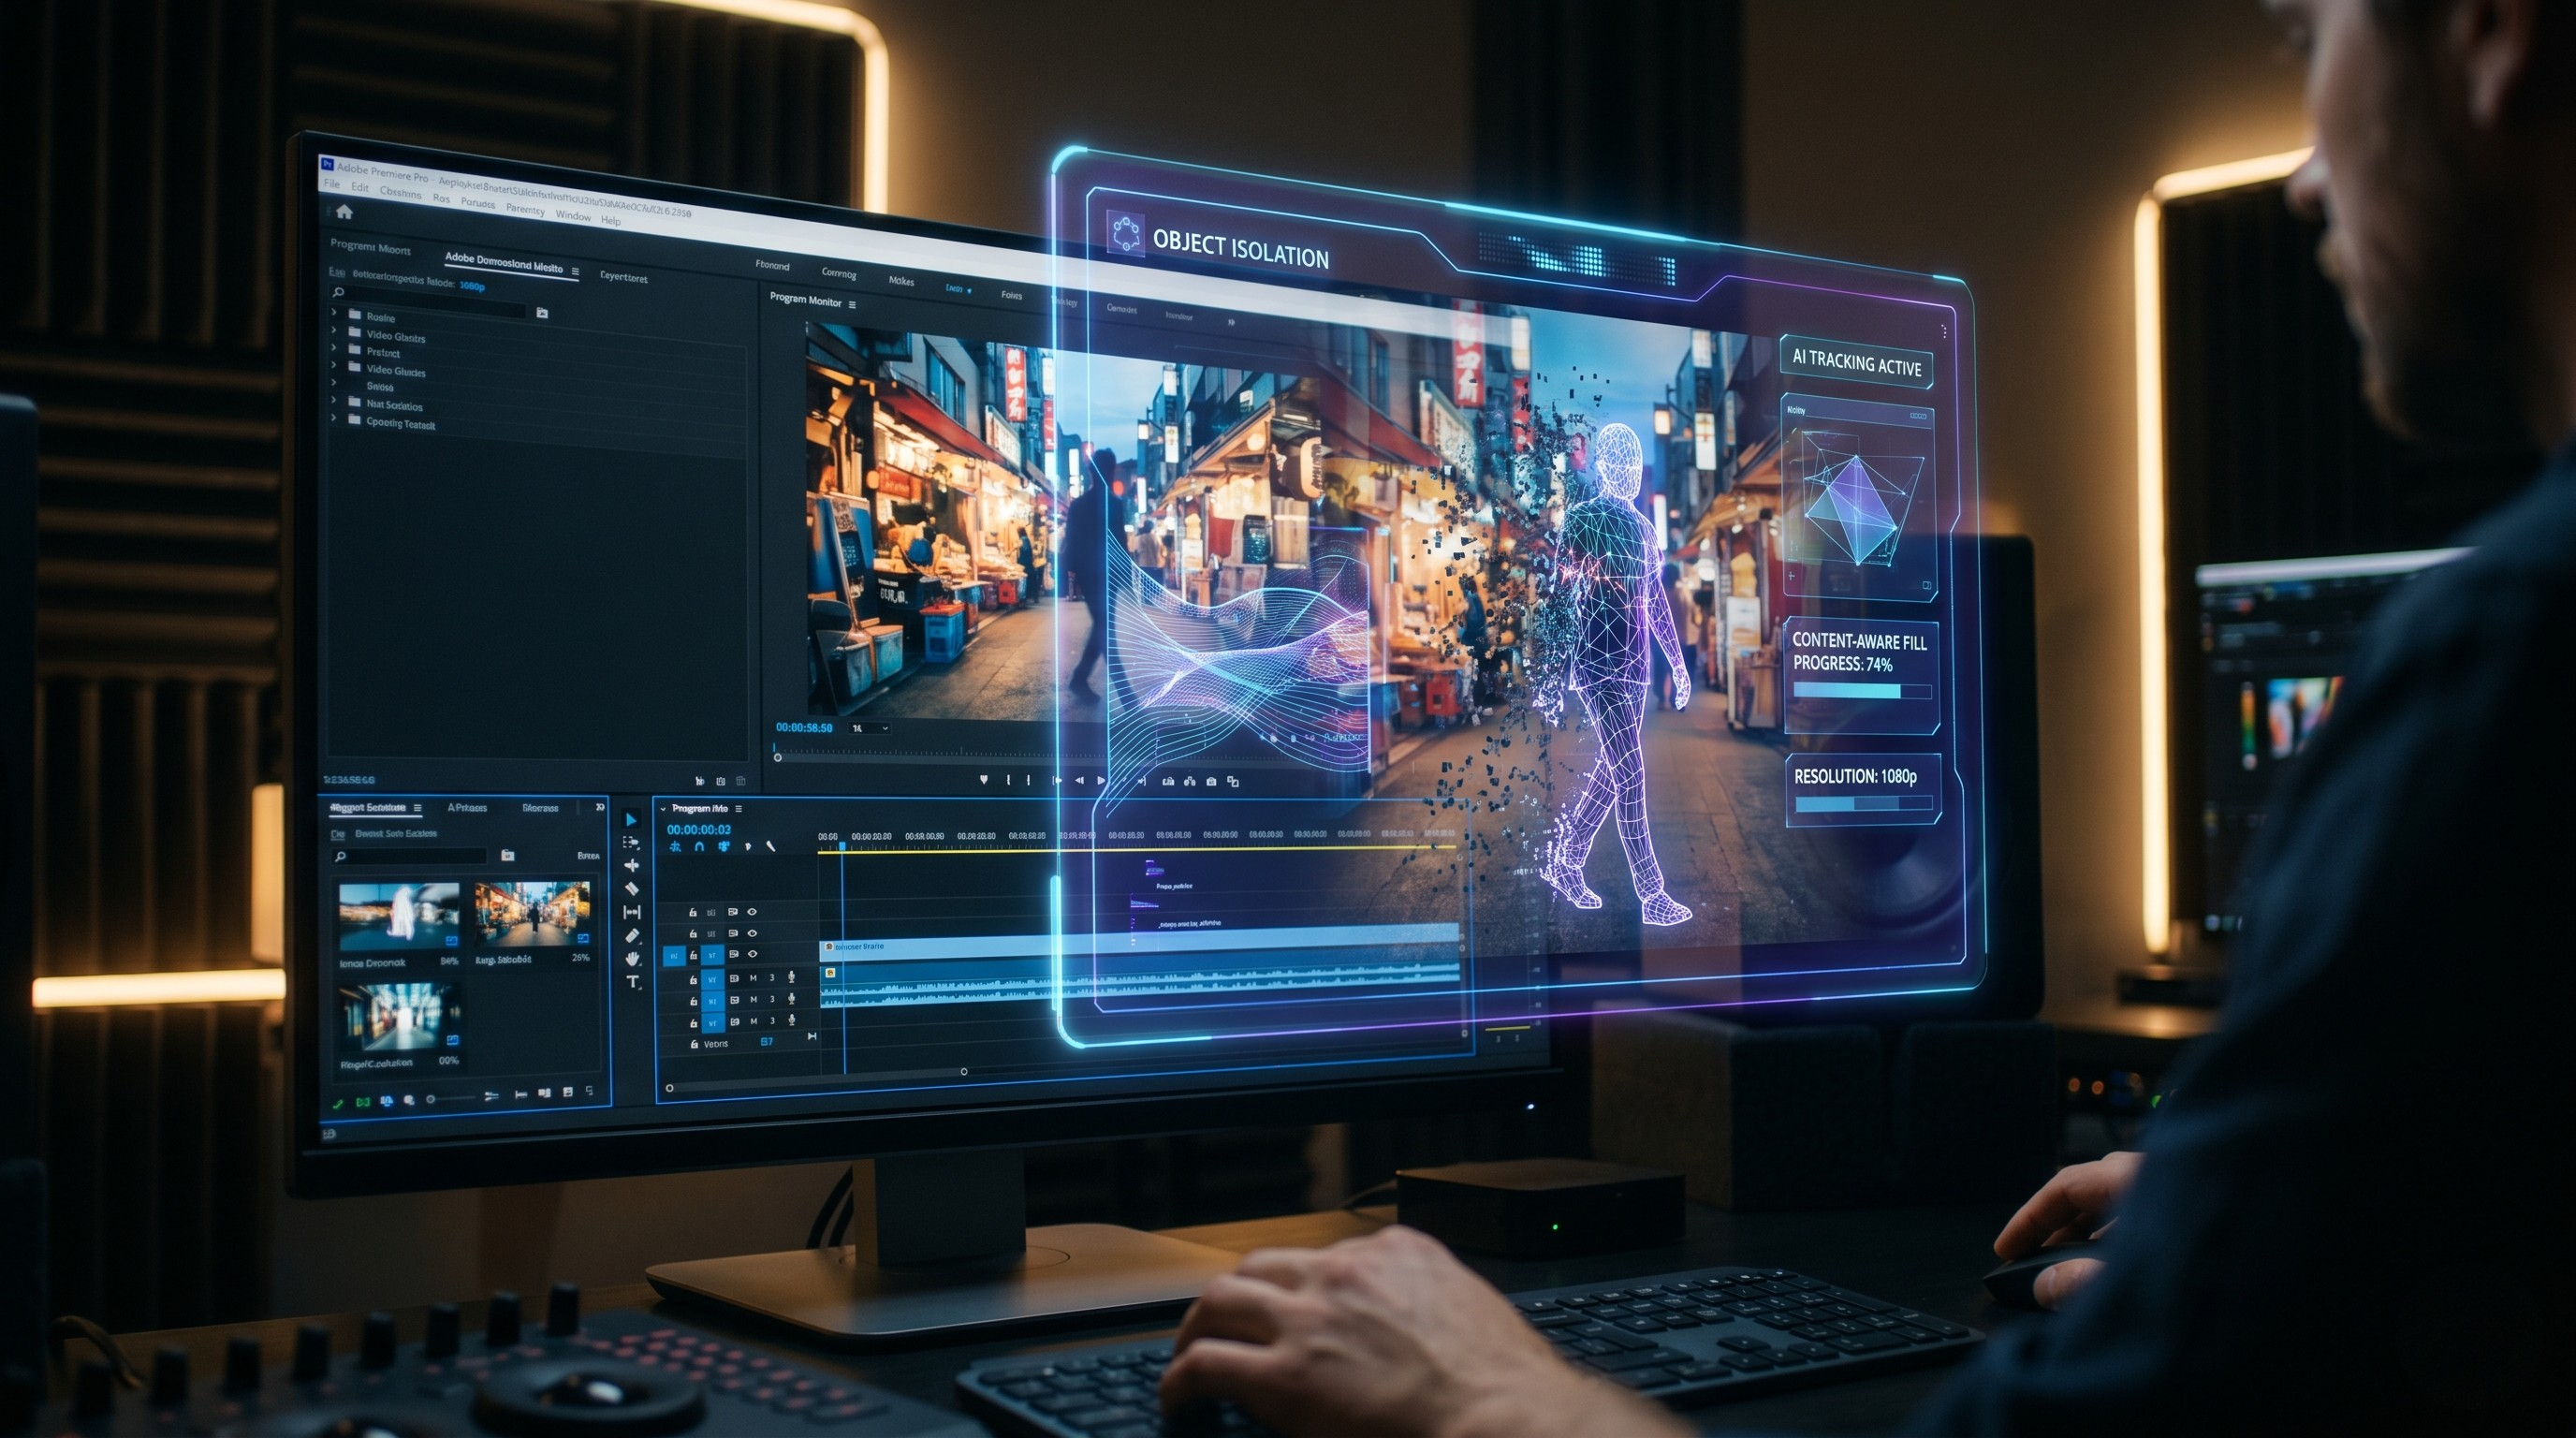
But we are living in the future, my friends. Thanks to the power of Augmented Reality (AR) and Artificial Intelligence (AI) plugins, what used to take days can now be accomplished in just a few clicks. If you are an Adobe Premiere Pro user, you are in luck. You can now effortlessly erase pedestrians, stray tourists, or any unwanted characters from your footage.
Today, we are going to walk through a simple, straightforward approach to removing people from your videos using the Hit Field plugin (or your preferred AR editing tool) right inside Premiere Pro. Grab your coffee, open up your timeline, and let’s dive into the magic of automated video editing.
Why AR is Changing the Video Editing Game
Before we get into the step-by-step tutorial, let’s take a quick moment to appreciate how AR and AI are revolutionizing the way we create content. Augmented Reality isn't just about putting virtual couches in your living room or playing mobile games where you catch digital creatures in your backyard. In the context of video production, AR algorithms are incredibly smart systems that can analyze a two-dimensional scene, understand three-dimensional depth, identify specific objects or people, and map the surrounding environment.
When you ask an AR plugin to remove a person from a shot, it doesn't just cut a crude, black hole into your video. It intelligently analyzes the pixels surrounding the unwanted person and studies the frames that come before and after their movement. By understanding the geometry of the environment, the software synthesizes a new, realistic background to seamlessly fill the gap. It is essentially digitally repainting your video in real-time. This saves creators an immense amount of time, allowing you to focus on the storytelling, color grading, and pacing of your edit rather than getting bogged down in tedious technical fixes.
Setting Up Your Premiere Pro Workspace
To get started, you’ll need to have Adobe Premiere Pro up and running, with your project loaded and your timeline ready to go. Make sure you have your AR plugin—such as the Hit Field plugin—installed, updated, and activated.
1. Import and Organize Your Footage Bring the clip you want to fix into your Premiere Pro sequence. Play through the footage a few times to identify exactly where the unwanted person enters and exits the frame. It’s always a good workflow habit to duplicate your original clip and place it on a higher video track. This way, you always have a backup of the original, unedited footage right there in your timeline just in case you need to start over or reference it later.
2. Select the Clip Once your footage is safely organized on the timeline, simply click on the clip to select it. You want to make sure the clip is highlighted so that any effects or plugins you apply are directed exactly where they need to go. If you have multiple layers of audio and video, ensure only the targeted video layer is active.
The Step-by-Step Guide to Removing Unwanted Characters
Now comes the fun part. We are going to let the software do the heavy lifting. Follow these exact steps to make those background characters disappear into thin air.
Step 1: Launch the Plugin and Edit Video With your clip selected in the Premiere Pro timeline, navigate over to your effects panel or extension window and open the Hit Field plugin. Once the plugin interface loads, look for the main action button—usually labeled "Edit Video" or "Launch Editor"—and press it. This will open a dedicated workspace or a specialized panel over your Premiere interface where the AR processing happens.
Step 2: Target the Characters for Background Removal Here is where the AR technology really flexes its muscles. You need to write an approach or command telling the software exactly what you want it to look at. In the tool's interface, select the option to remove characters from the background.
You will typically use your mouse to draw a rough selection box or use an automated tracking lasso to highlight the person you want to vanish. You don’t need to be surgically precise—the AR algorithm is smart enough to detect the contrasting edges of the person and separate them from the background environment. Once you’ve highlighted your target, confirm your selection.
Step 3: Adjust the Duration This is a critical step that many beginners completely overlook. You need to ensure that the plugin knows exactly how long this removal process needs to last. Look for the timeline or duration settings within the AR plugin interface. Select the duration and carefully adjust it so that it is the exact same length as your original clip.
If you only apply the effect for a few seconds, the person will magically disappear and then suddenly pop back onto the screen halfway through the shot, which ruins the illusion entirely. By matching the duration to the clip, the AR tracks the person continuously from the first frame to the very last.
Step 4: Choose 1080p Resolution Before you hit that final button, double-check your output settings. For most standard digital content, YouTube videos, and social media deliverables, 1080p is the absolute sweet spot. It provides crisp, high-definition clarity without overwhelming your computer's processing power or taking hours to render. Look for the resolution dropdown menu inside the plugin and choose 1080p.
Step 5: Generate and Marvel at the Results You’ve made your selections, you’ve set your duration, and you’ve locked in your resolution. All that is left to do is click the "Generate" button.
Sit back and watch the progress bar. The plugin is now analyzing every single frame of your 1080p video, using AR to track the person, erase them, and intelligently generate a believable background to fill the empty space. Once it generates, play back the clip in your Premiere Pro timeline. You will likely be amazed at how seamlessly the character has been removed from your background, leaving you with a perfectly clean shot.
Pro Tips for Clean Removals
While AR plugins are incredibly powerful, they aren’t literal magic wands. The quality of your final result can depend heavily on the nature of your original footage. Here are a few quick tips to ensure your video looks as natural as possible:
- Static Backgrounds Work Best: If your camera is locked down on a tripod and the background isn't moving, the AR has a much easier time replacing the removed person with clean background pixels. Moving camera shots (like handheld footage, rapid pans, or tilts) require much more complex calculations and can sometimes result in slight blurring or visual artifacting.
- Contrasting Colors: The software has a much easier time identifying and masking a person if they are wearing colors that contrast heavily with the background. For example, a person in a bright red jacket walking against a gray concrete wall is much easier for the AI to track than a person in a gray jacket against the same wall.
- Mind the Shadows: Lighting plays a massive role in how well the AR can generate a replacement background. If the person being removed was casting a heavy, moving shadow on the ground, the AI might remove the person but leave the bizarre, disembodied shadow behind. Always be mindful of harsh lighting conditions when shooting.
- Review Frame by Frame: Always play back your generated clip carefully. Sometimes, the software might miss a hand or a foot for a single split-second frame. If that happens, you can usually go back into the plugin and manually adjust the mask for those specific problem frames.